Create a Hand-Painted Birthday Banner with Imogen Olivia
There’s something particularly magical about a handmade birthday celebration, and nobody captures that feeling quite like Imogen Olivia.
Known for her wonderfully creative world of motherhood, interiors and thoughtful little details, Imogen has shared one of her gorgeous birthday crafts for exclusively with The Mini Style Post.
Watch the video, where Imogen shows us how she created a whimsical, hand-painted birthday banner for her daughter’s birthday, complete with charming illustrations, delicate watercolours and pretty ribbons. Think woodland creatures, fairy-tale details and a little homemade magic.
It’s the kind of decoration you’ll want to keep long after the birthday candles have been blown out.
Follow Imogen on Instagram at @imogenolivia.
Let’s Get Crafting!
What You’ll Need ✂️
A3 watercolour paper
Watercolour paints and brushes
Pencil and rubber
Acrylic pen
Hole punch and split pins
Ribbons and sellotape
Step 1: Sketch Your Design
Start by lightly drawing your design in pencil onto the watercolour paper. Think about any illustrations you’d like to include. Imogen was inspired by a vintage story book. Mushrooms, little mice, flowers and woodland creatures are perfect for creating that whimsical, storybook feel. Allow for two characters per A3 paper.
Step 2: Add Some Colour
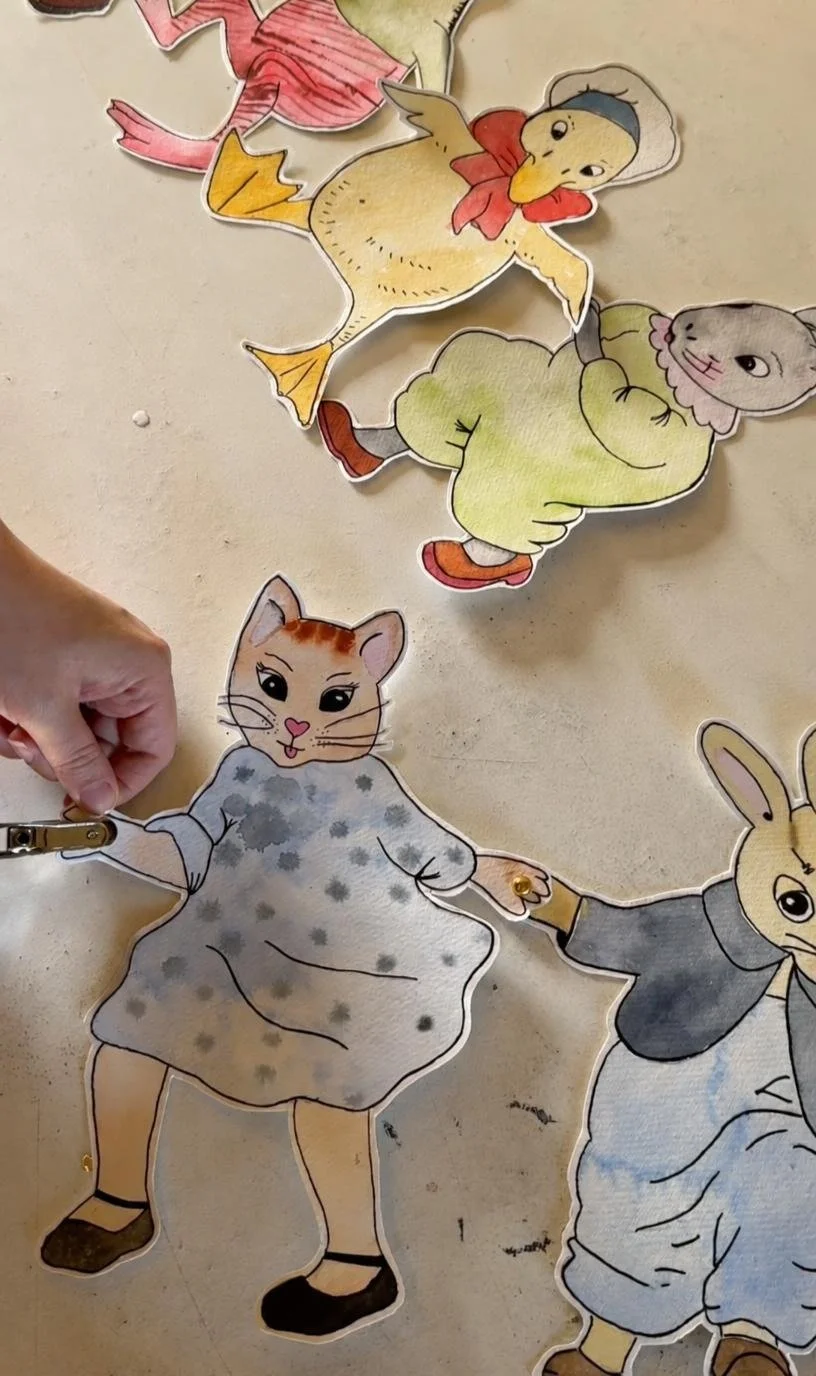
Using your watercolours, carefully paint your characters. Soft, muted shades work beautifully for a vintage-inspired look. Allow the paint to dry then outline with a fine line acrylic pen.
Step 3: Assemble Your Banner
Carefully cut out your painted characters and you are ready to assemble. Use a hole punch to make holes where the pieces will connect, then secure them together with split pins. This adds a really nice natural movement.
Step 5: Add the Finishing Touches
Attach ribbons to either end of your banner and there you have it!. A one-of-a-kind birthday decoration,