

Making Apple Core Piñatas with @fetegazette
All images courtesy of Fete Gazette
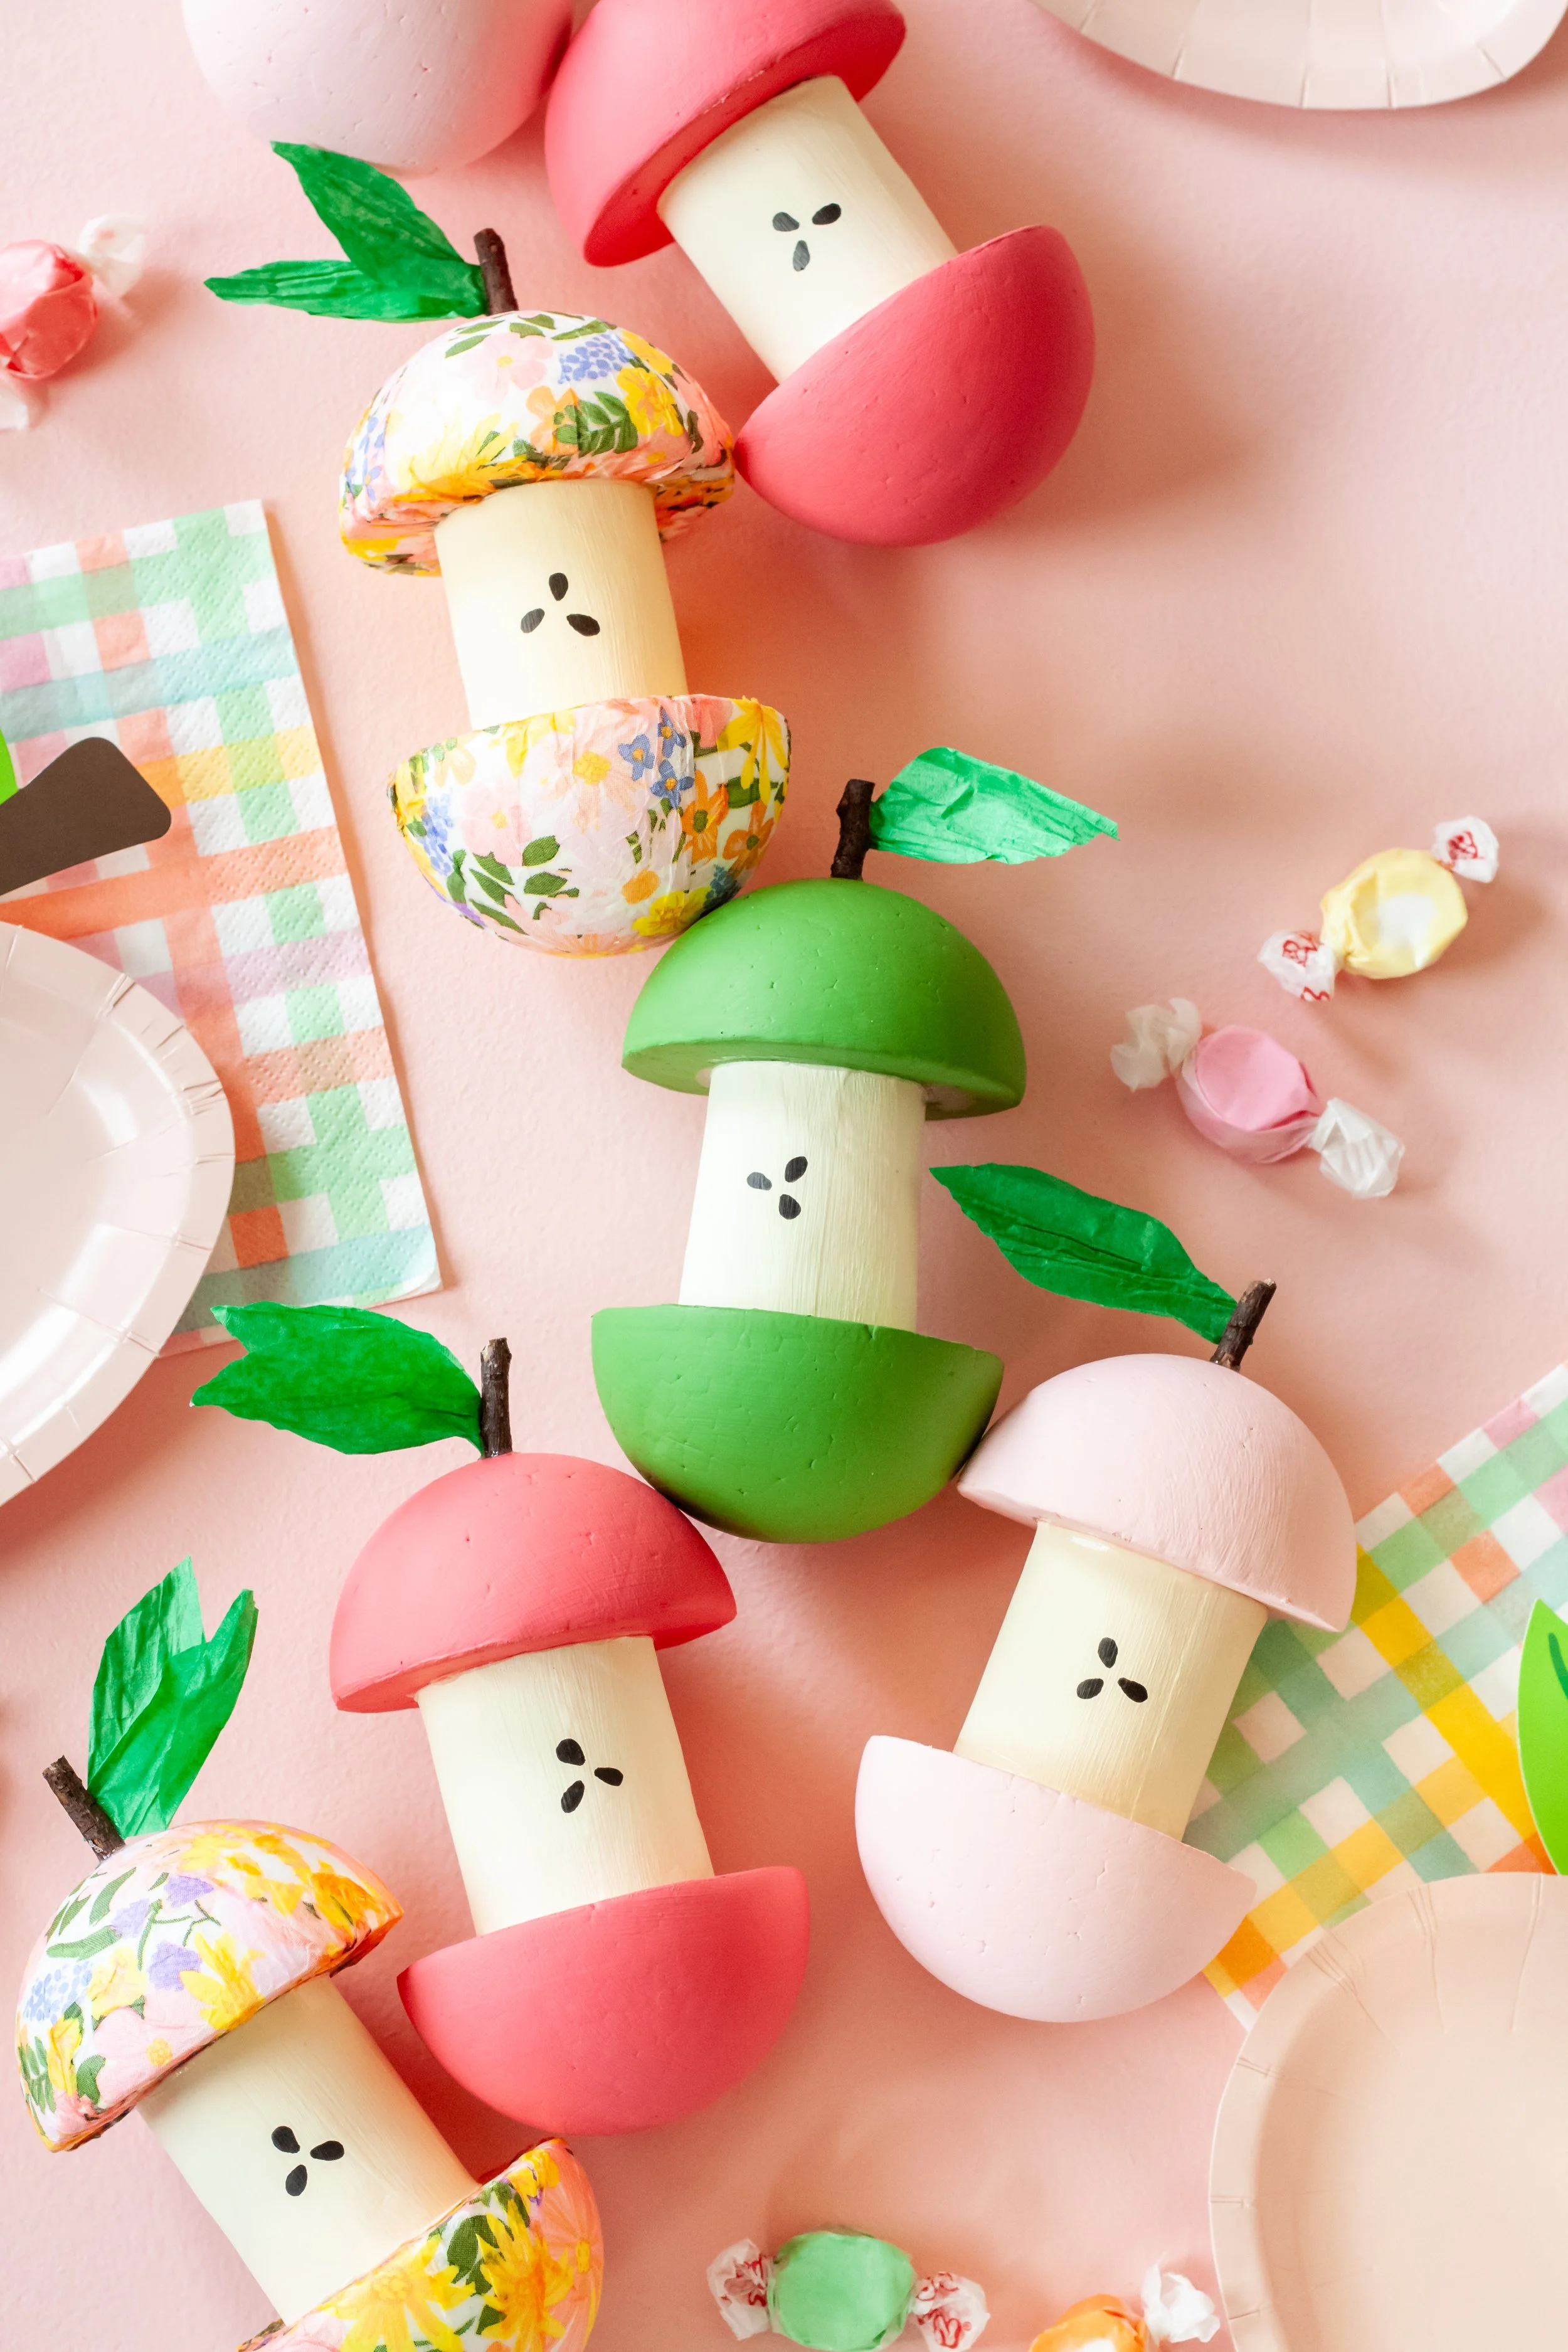
In my opinion, Fall is one of the absolute best times of the year, with cooler weather, colorful leaves, bonfires, and apple everything! One of the best childhood memories was going to an apple orchard with friends every year, and then baking apple pies with the moms. My son has been to several birthday parties and preschool field trips at apple orchards as well. I was thinking it would be so fun to add some apple core piñatas to these traditions, filled with apple or caramel-flavored candies, cute fall jewelry, or even small toys. They are pretty simple to create, and can be used again next Fall!

WHAT YOU NEED:
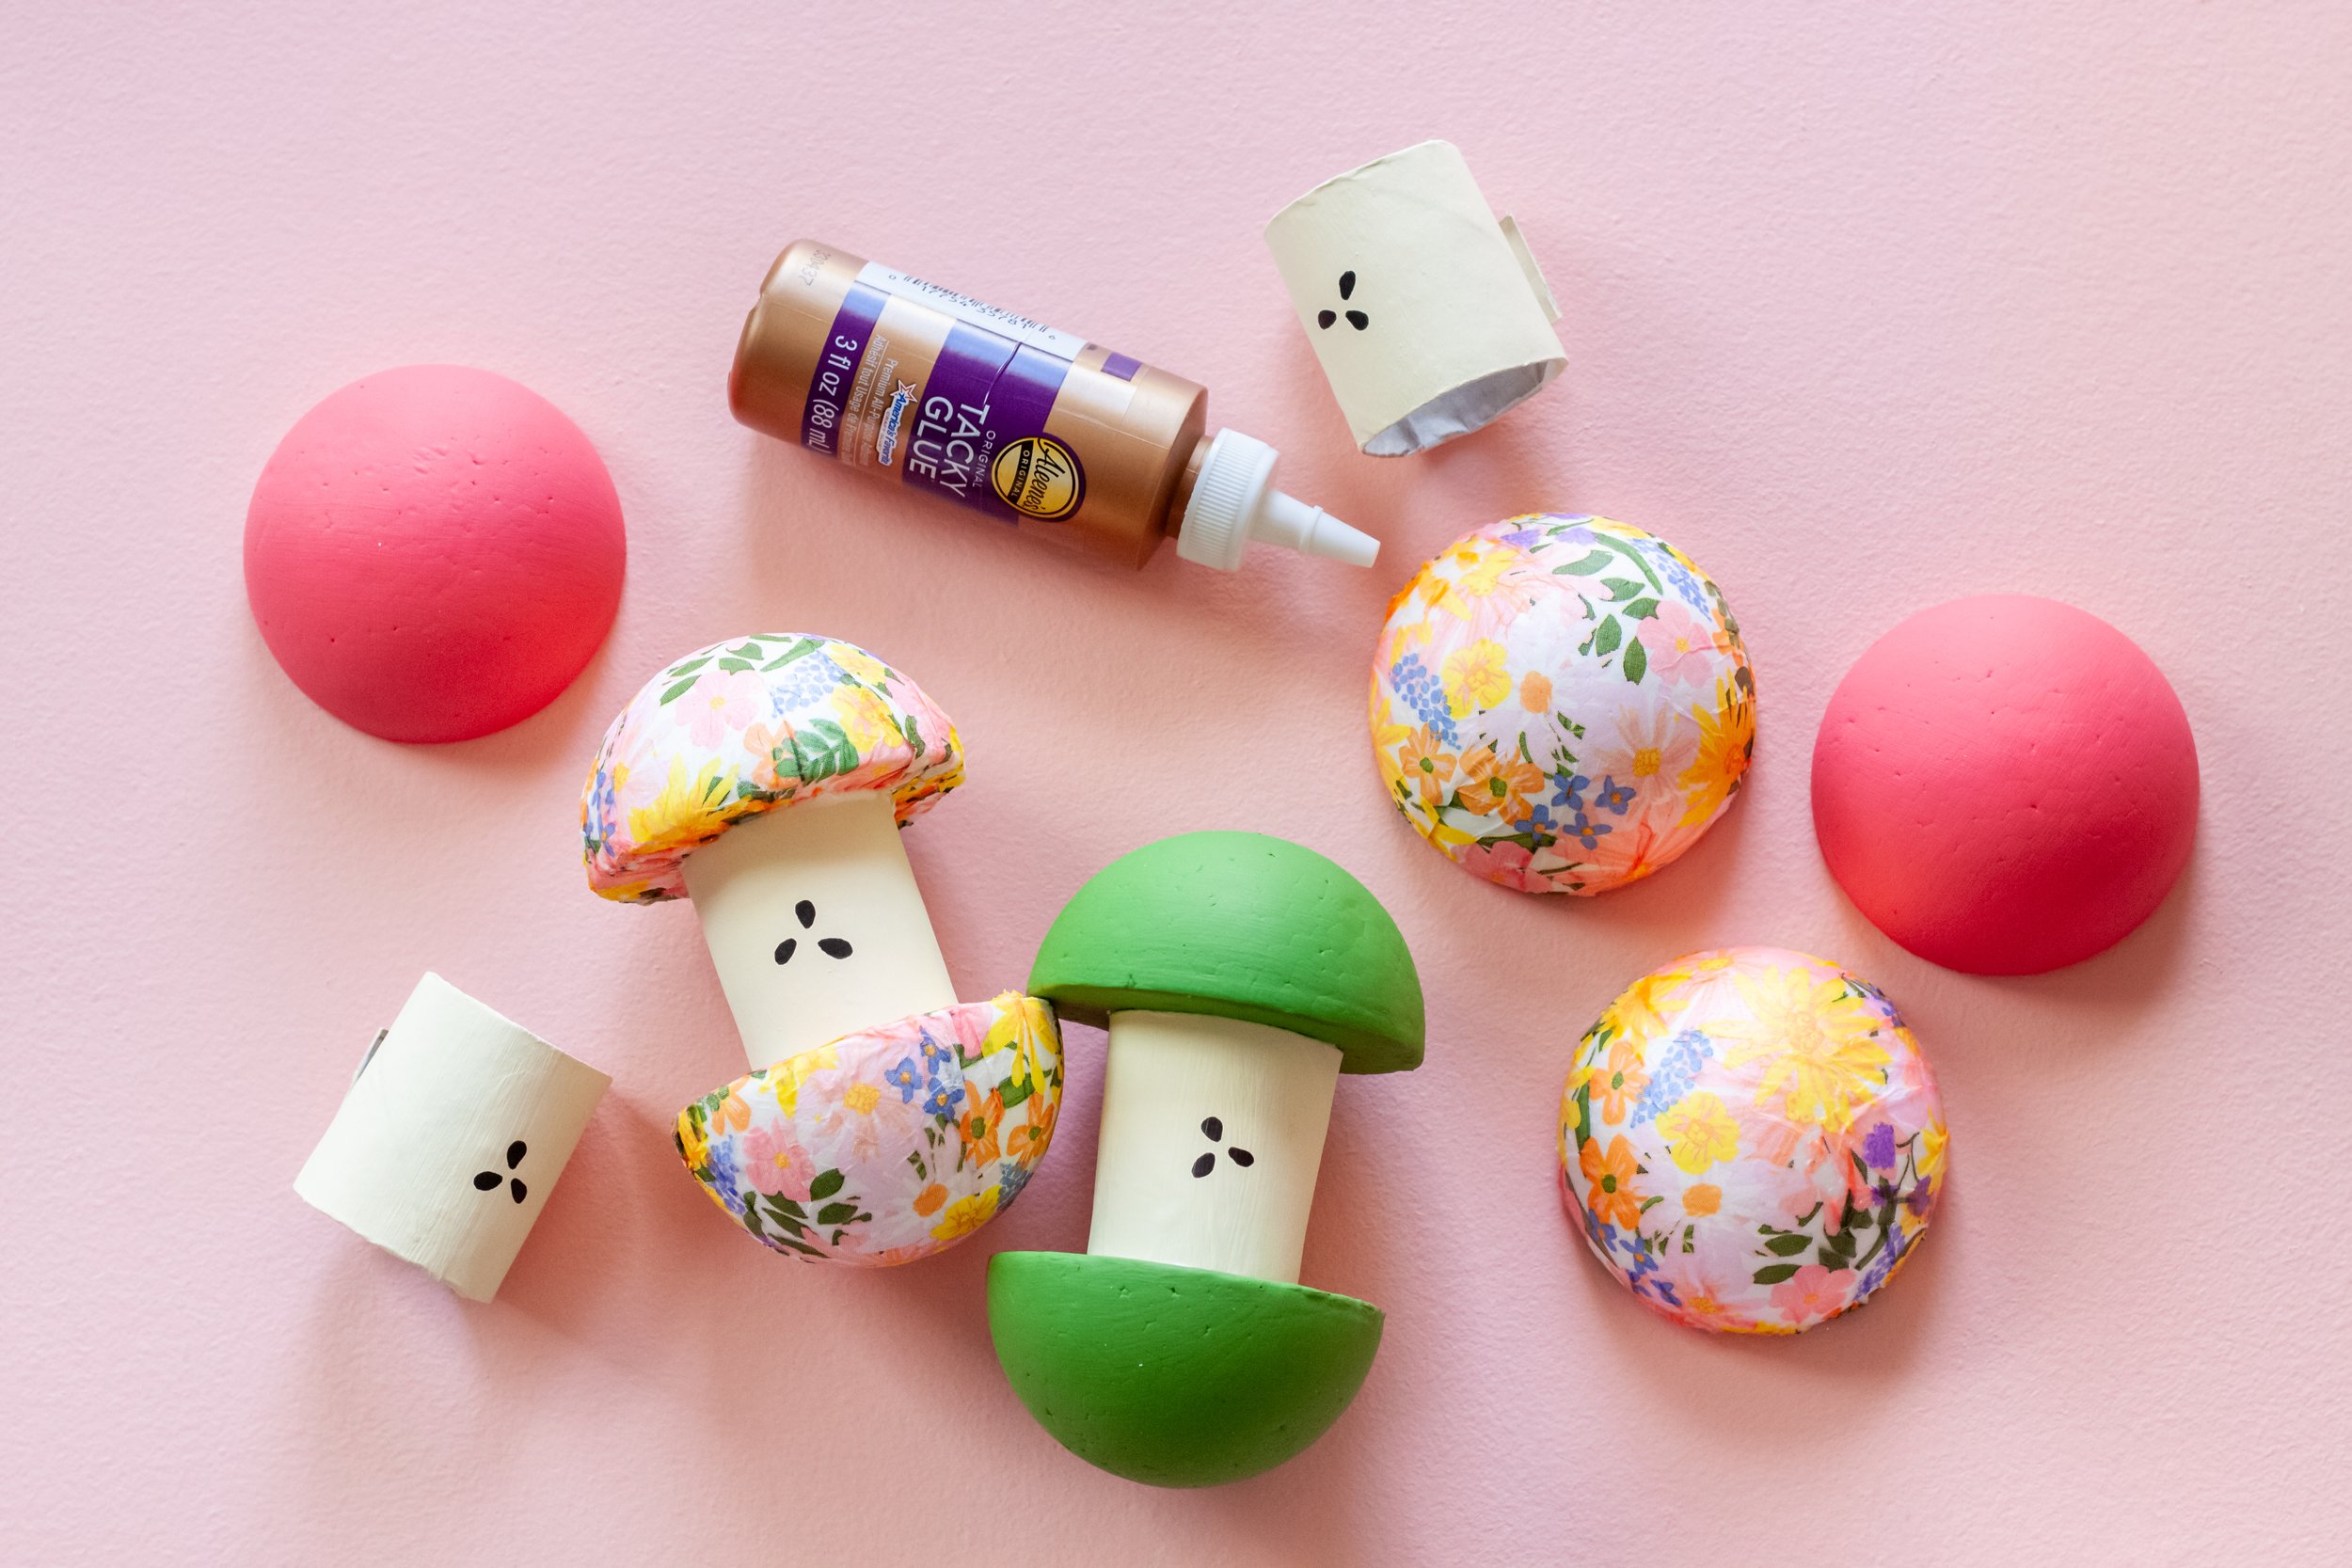
• 3.2 x 1.6 inch Styrofoam half balls (2 per piñata)
• Toilet paper roll (cut in half)
• Newspaper
• Sponge brush
• School glue (mix 1 part glue / 1 part water)
• Mod Podge
• Tacky glue
• Paper napkin (high quality – 3 ply)
• Green crepe paper
• Acrylic paint in off-white and your choice of reds, pinks, greens, etc.
• Acrylic paint pen in black
• Scissors
• Stick / Twigs
• Box Cutter
• Small treats & prizes to fit in 1x1 inch square
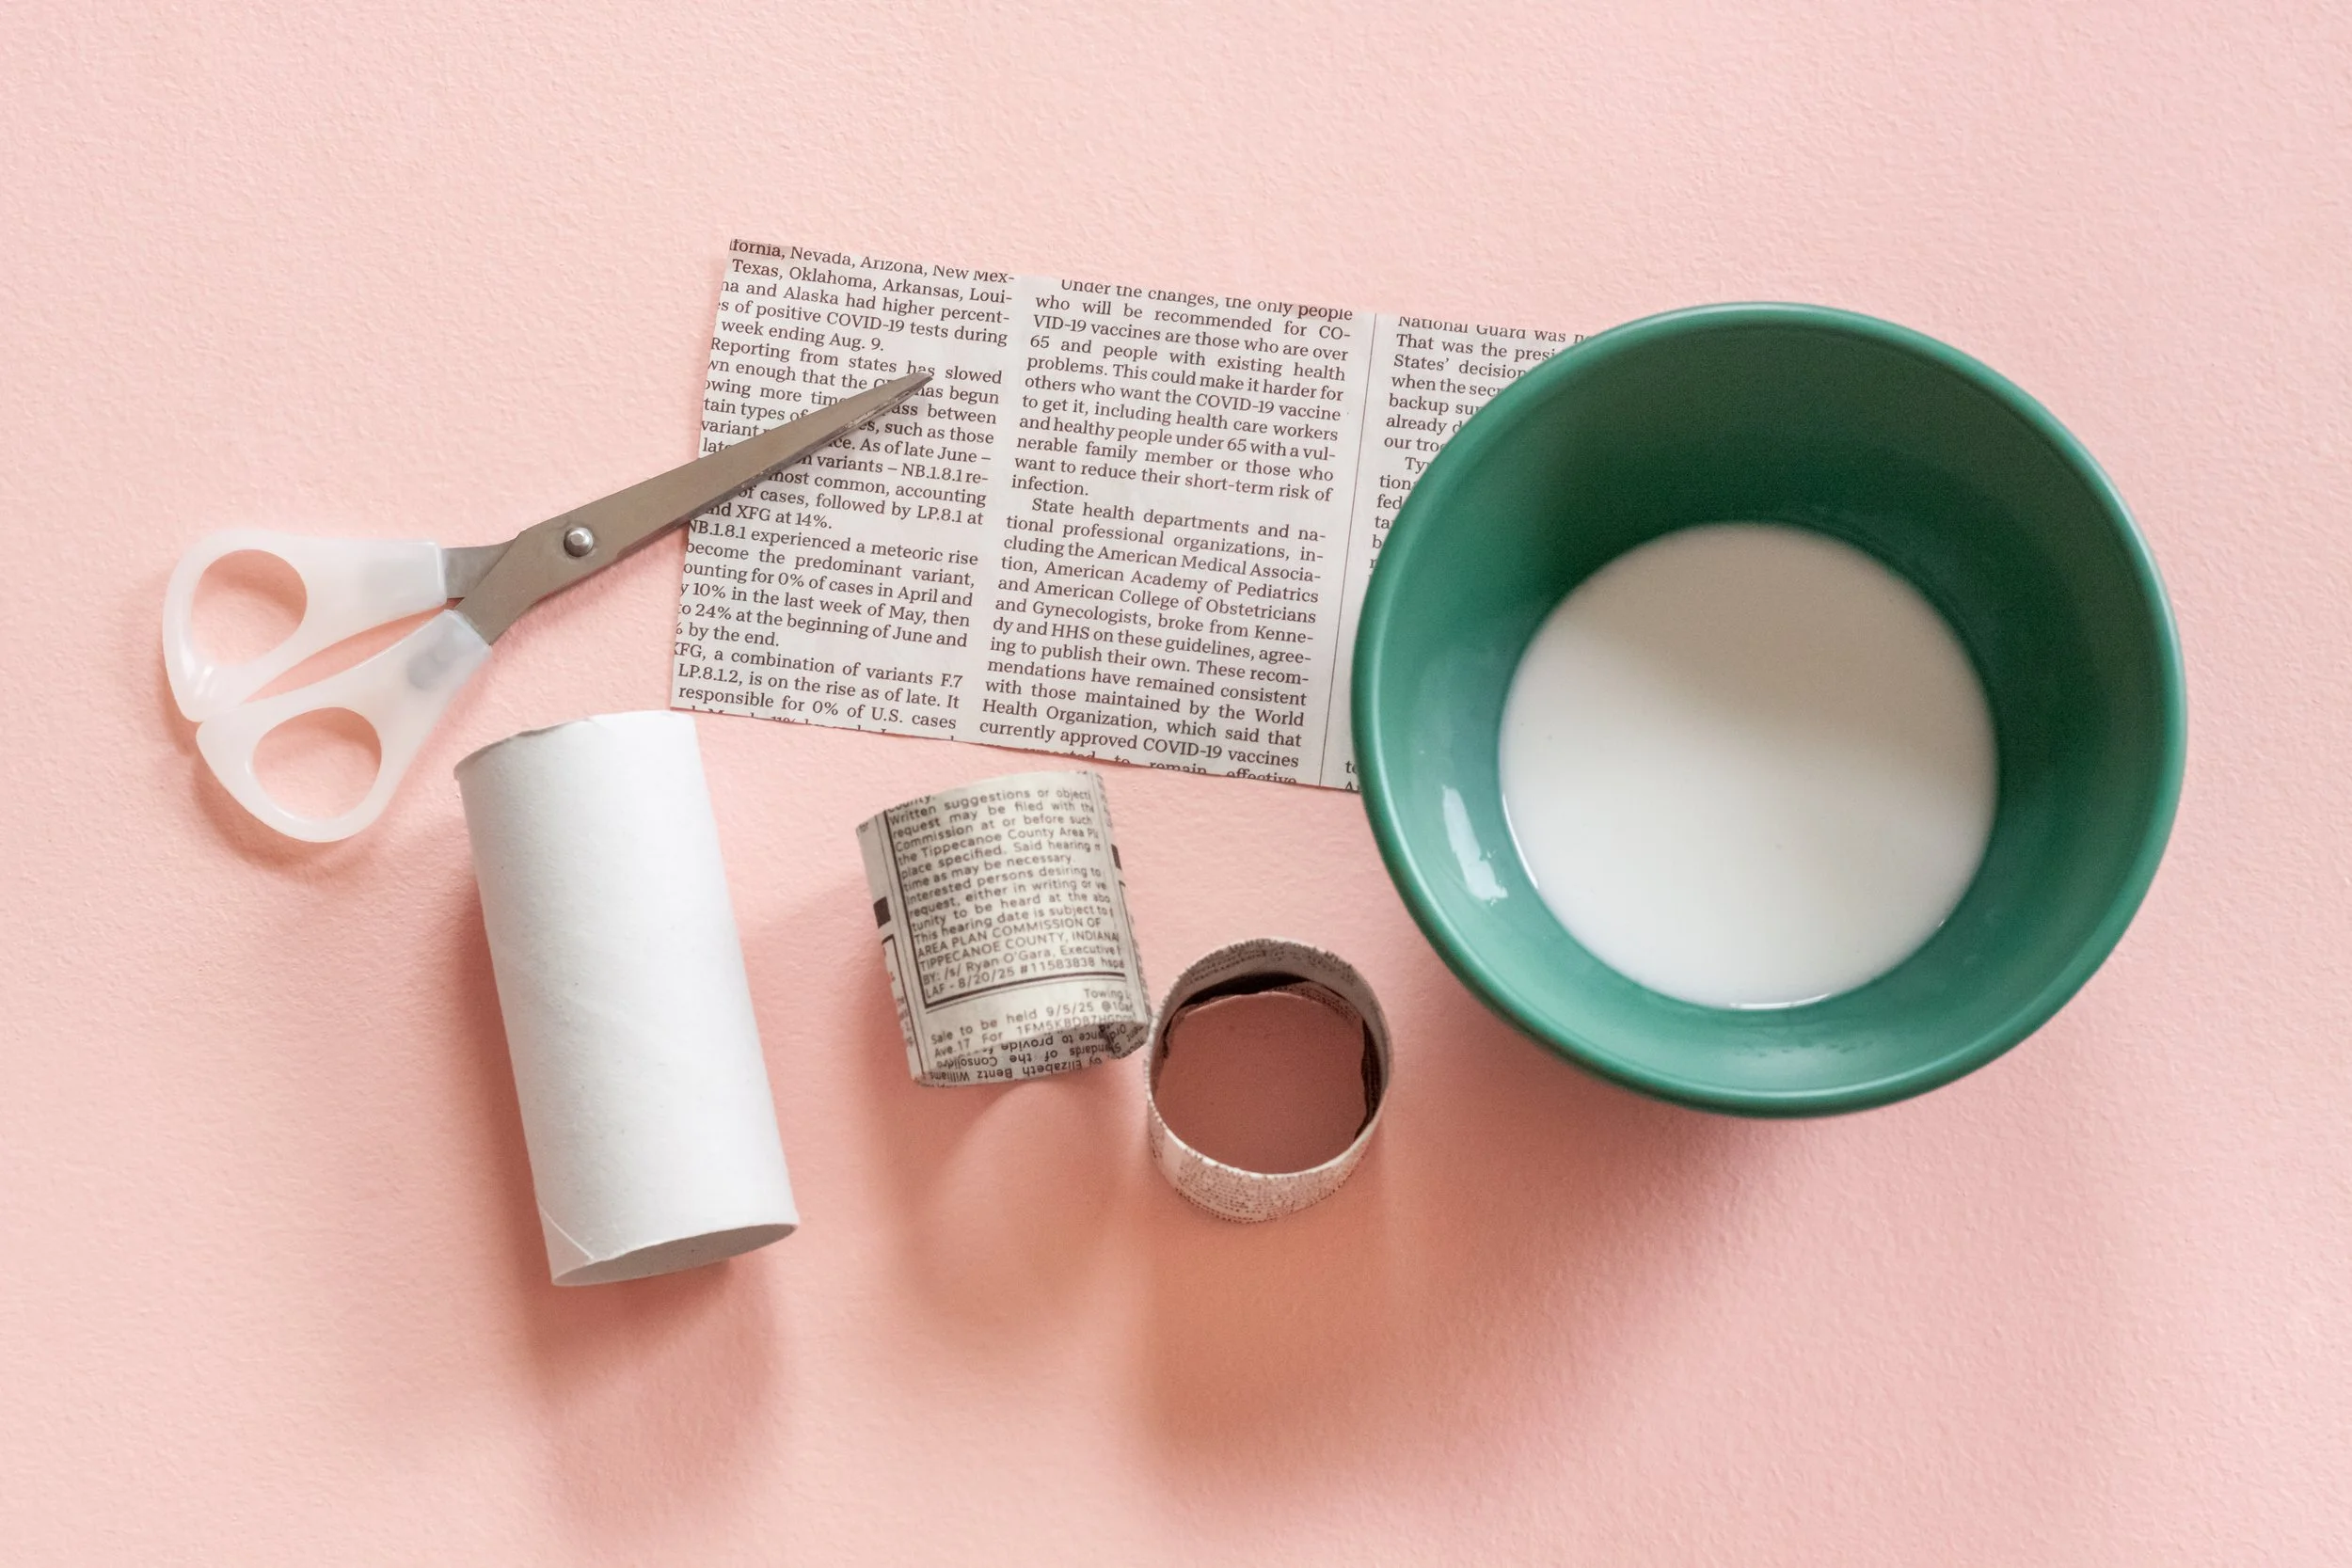
Step 1
Cut a toilet paper roll in half. Dip a 3 ½ x 7-inch strip of newspaper into your glue/water mixture. Squeeze off any excess glue by running the paper between your fingers over the bowl. Roll the newspaper around one of the toilet paper roll halves, until it is completely covered and make sure it is smooth. Tuck the ends of the newspaper into the top and bottom of the roll and press down until it sticks smoothly to the inside of the roll and allow to dry.
Step 2
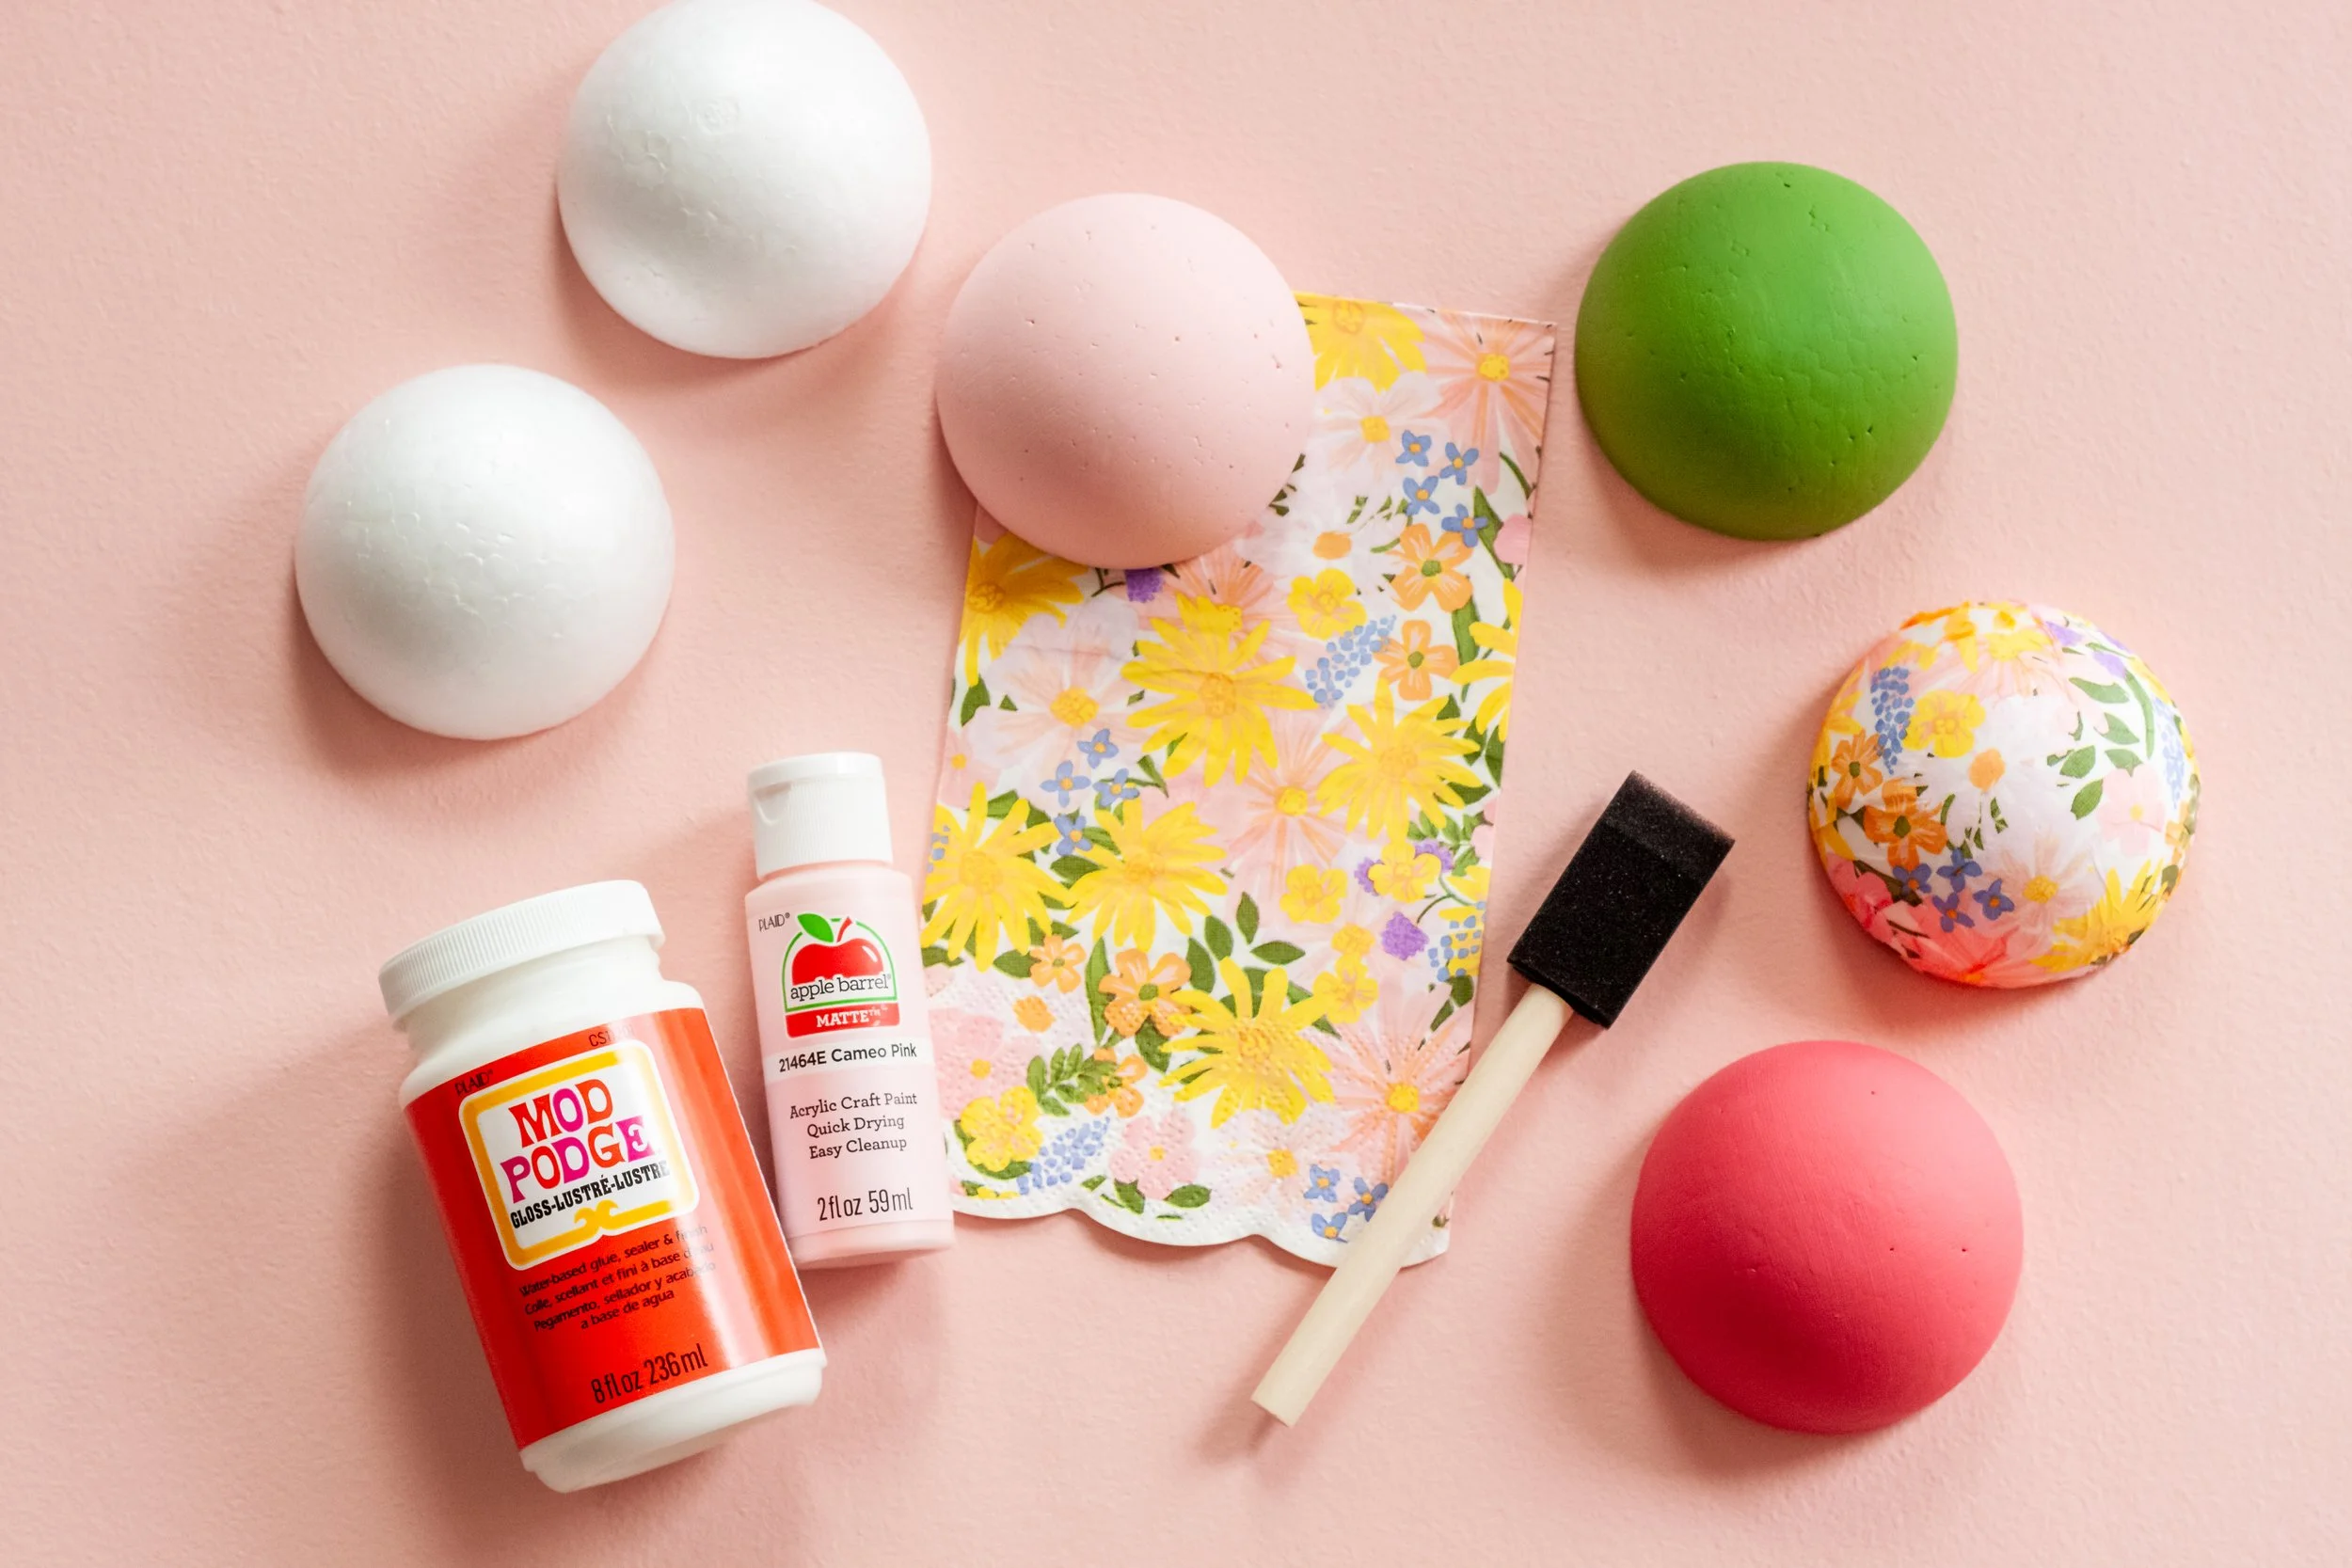
Paint two Styrofoam ball halves in the apple-color of your choice, and set aside to dry. It will likely require several coats of paint for full-coverage.
OPTIONAL: If you want to use a paper napkin to create pattern on the apples, you will need to peel the napkin down to 1-ply. You may need to use tape on a corner to get the pieces to separate. Cut off any textured edges on your napkin, and use Mod Podge to apply it to your Styrofoam halves. Start on the top of the dome, and smooth the napkin down the sides. Then, fold the ends under the flat part and cut off any excess. Add Mod Podge to the flat part and smooth down any lumps. The middle will be covered by the diameter of the toilet paper roll, so keep that in mind.

Step 3
Paint the toilet paper roll halves in an off-white with a tiny amount of yellow. You may want to prime them with white paint first, or you may need two coats. Allow to dry.
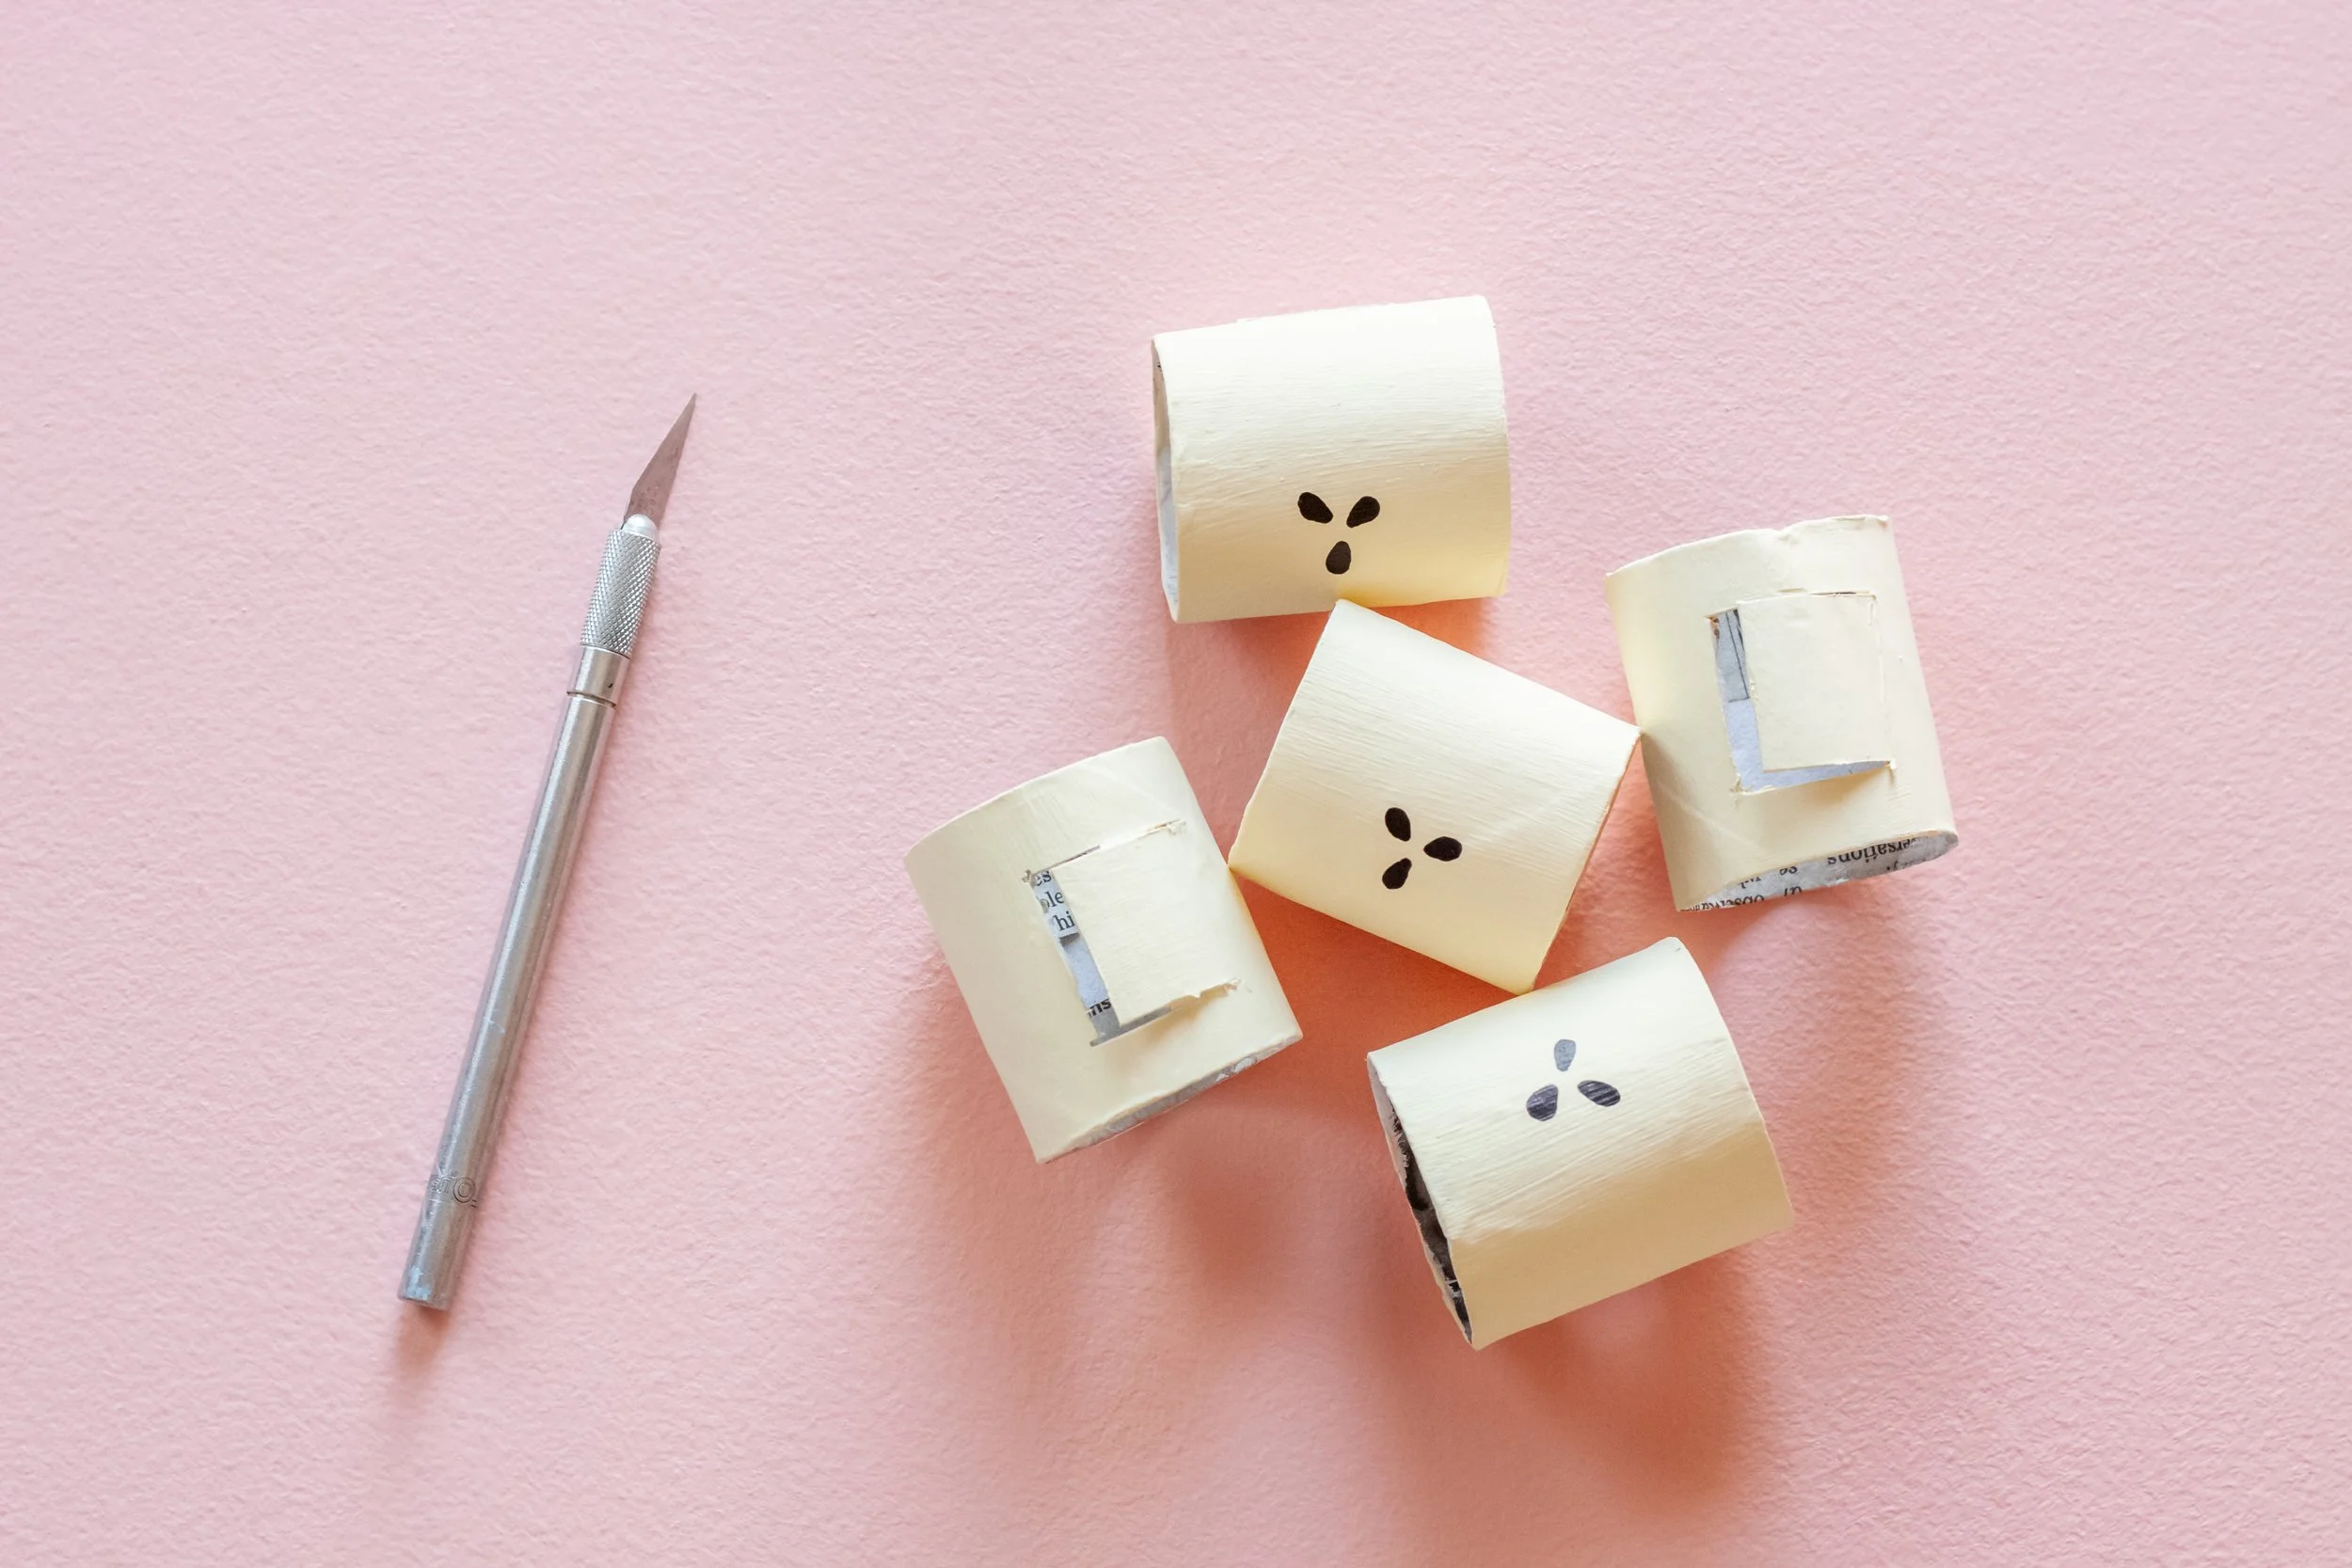
Step 4
Draw apple seeds on one side of the “core” using an acrylic paint pen.
Step 5
Cut three sides of a 1x1 inch square in the center of the opposite side of the core to create a door for treats and prizes

Step 6
Use tacky glue to attach matching Styrofoam ball halves to each end of your core. Center them on the core, and allow to dry completely.
Step 7
Cut a stem using a branch or twig, and use tacky glue to attach it to the center of one of the Styrofoam ball halves.
Step 8
Cut a leaf out of green crepe paper, and use tacky glue to attach it to your stem.
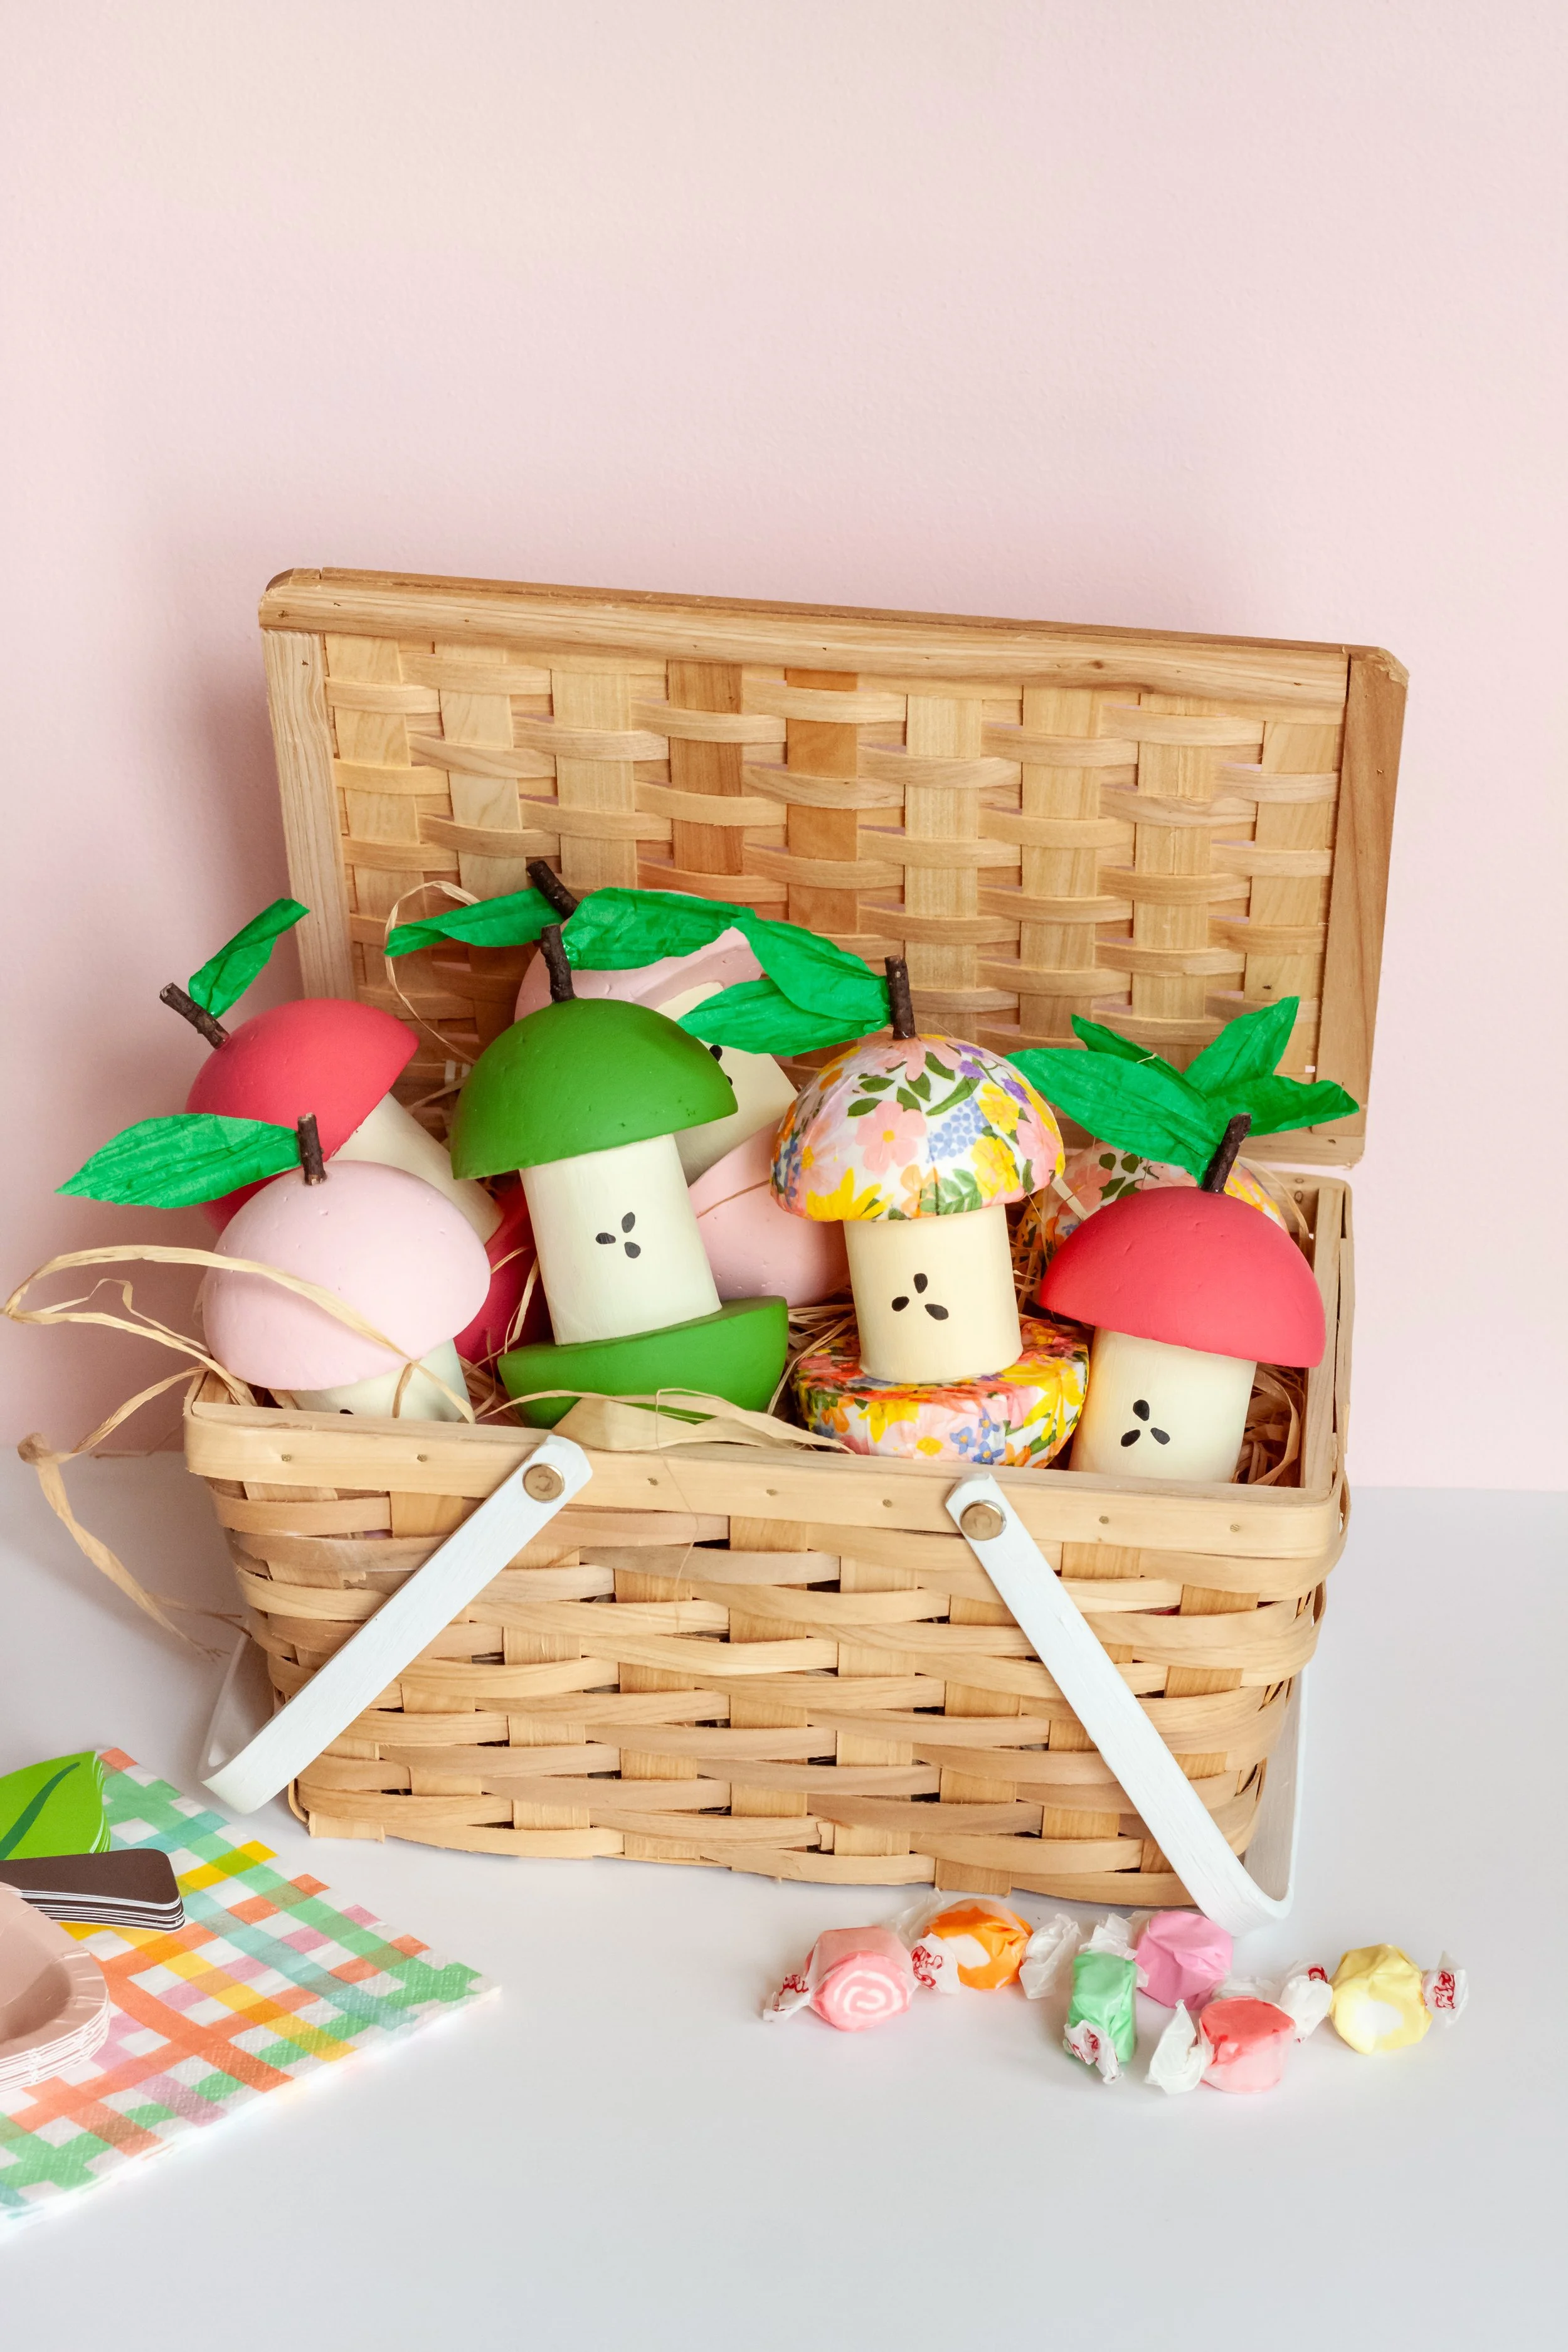
Place treats or prizes inside the little door, and you have the sweetest apple core piñatas to share with family, friends, neighbors, or classmates! Happy Fall!